• Skip to primary navigation
  • Skip to main content
  • Skip to primary sidebar
  • My Account
  • Cart
Julie's Kitchenette
  • About
    • Gluten-Free Coaching
  • Blog
    • Recipes
    • Product Reviews
    • Cookbook Reviews
  • Recipes
    • Appetizers
    • Baking Mixes
    • Beverages
    • Breads
    • Breakfast
    • Cocktails
    • Dessert
    • Main Dish
    • Pantry
    • Sauces
    • Soups
  • Videos
  • Classes
    • Gluten-Free Bread Class
    • Pie Party!
    • Team Building + Corporate Wellness + Artisan Maker Workshops
  • Cookbooks
    • Gluten-Free Farmhouse Breads Ebook
    • GF + V Bread eBook
    • Vegan Casseroles
    • Vegan Pizza
    • Vegan Diner
  • Contact

Easy Peasy Freezer Jam!

July 12, 2015 By Julie Hasson

I’ve been making this jam recipe for years. It’s seriously easy, and doesn’t involve a steamy kitchen and lots of equipment. In fact if you’re using ripe berries, peaches or nectarines, there’s no cooking at all! I made this jam on AM Northwest last week, and it was a huge hit. Seriously, it tastes like fresh fruit from the garden. And, you can enjoy it all year. I find myself making this with different berries as they come into season. 

The best part of this jam besides the ease, is that you can customize it to your liking. Sometimes I will add lemon zest in my raspberry jam, or substitute 1/4 to 1/3 cup red wine for an equal amount of fruit to make a sangria jam. I also like to mix fruit depending on what I’ve got, like nectarine blackberry or raspberry lemon peach. The flavor combos are endless! Oh, and because you’re using Instant Clearjel to thicken it, you can control the amount of sugar you add. Keep reading to learn how to tinker with the sugar. Oh and it’s gluten-free and vegan too!

I’ve been experimenting this week with ripe apricots and red plums (since I have a case of each), and I’ve found that for these two fruits, I prefer to simmer the jam mixture for 5 to 10 minutes to really bring out their luscious flavors. Still, we’re talking 5 to 10 minutes!! I did wind up adding an extra tablespoon or two of Instant Clearjel plus an extra 1/2 cup sugar to the apricot jam, so it was a bit thicker and with just a touch more sweetness. For the red plum jam, I reduced the sugar by 1/2 cup, so that it kept its tart flavor. Most of the time the 2 cups of sugar is perfect.

If you’re not familiar working with Instant Clearjel, there are a few things you need to know. The Instant Clearjel MUST be mixed with the dry sugar in this recipe (which is why you can’t sub agave here.) It is an instant starch, which means that it will gel everything into a big glob, if not diluted with the other dry ingredients (i.e. sugar), and then slowly whisked into the smashed fruit. I know this from experience. Trust me on this. You can find Instant Clear Jel at bakery supply stores, Amazon (and here on Amazon), King Arthur Flour, and nuts.com. Make sure to get the Instant and not regular Clearjel!

You can reduce the sugar to taste if desired, as long as you have at least 1 cup to mix with the Instant Clearjel. I found that two cups was just sweet enough so that it tastes like jam, but isn’t cloyingly sweet like many jams can be. The reason that most jam is so sweet is because you need enough sugar to both jell it into jam and also keep botulism at bay. The great thing about this freezer jam is that it’s frozen, so you don’t have to worry about that.

Want to know something else that’s fantastic about this freezer jam? You can stir it into sparkling water to make easy homemade sodas, or add some rum or vodka for a tasty cocktail. It also makes a fab topping for ice cream or cheesecake, stirred into ice cream, over ice cream, stirred into plain yogurt, layered with chia pudding as a parfait, over toast, layered into cookie bars, baked into coffee cake or served with scones… To me it’s the best way to enjoy ripe summer fruit all year long. And trust me when I say that this jam tastes like a spoonful of ripe, fresh fruit!

Feel free to post any questions you have in the comment section below. I’m posting the segment from my TV segment as well, so you can see a little video tutorial of how to make it. Oh and one more thing. Don’t try to can jam made with Instant Clearjel. It won’t work. For canned jam you can use regular Clearjel, but then it’s not freezer jam and also it will need more sugar to preserve it. Trust me with this recipe and stick to freezer jam. Once you go freezer jam you’ll never look back!

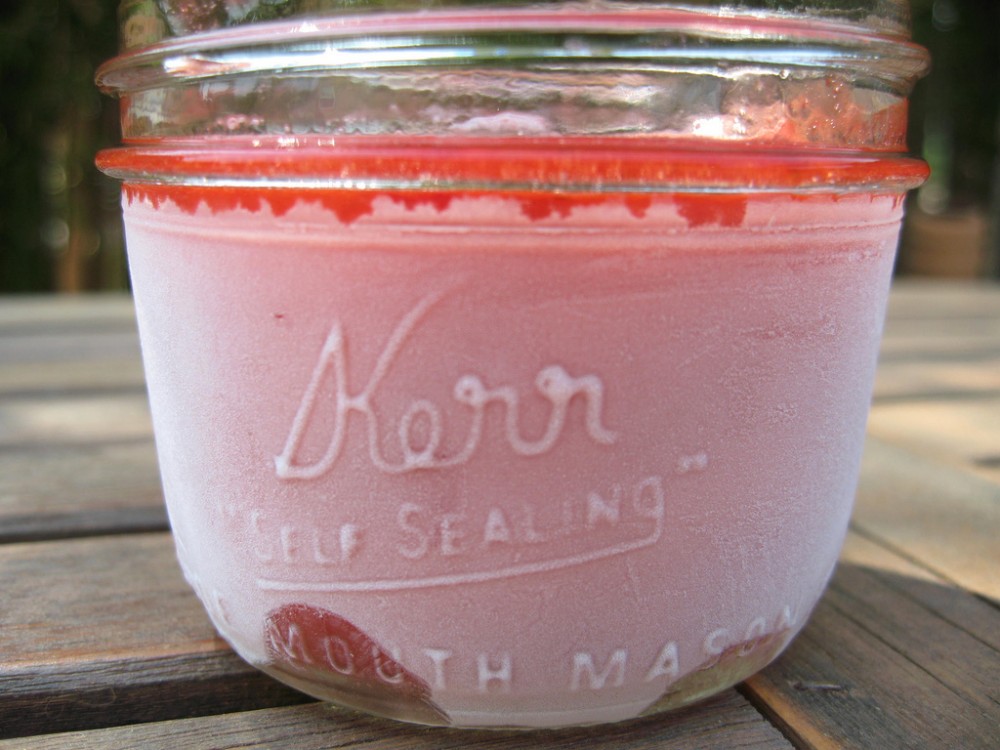
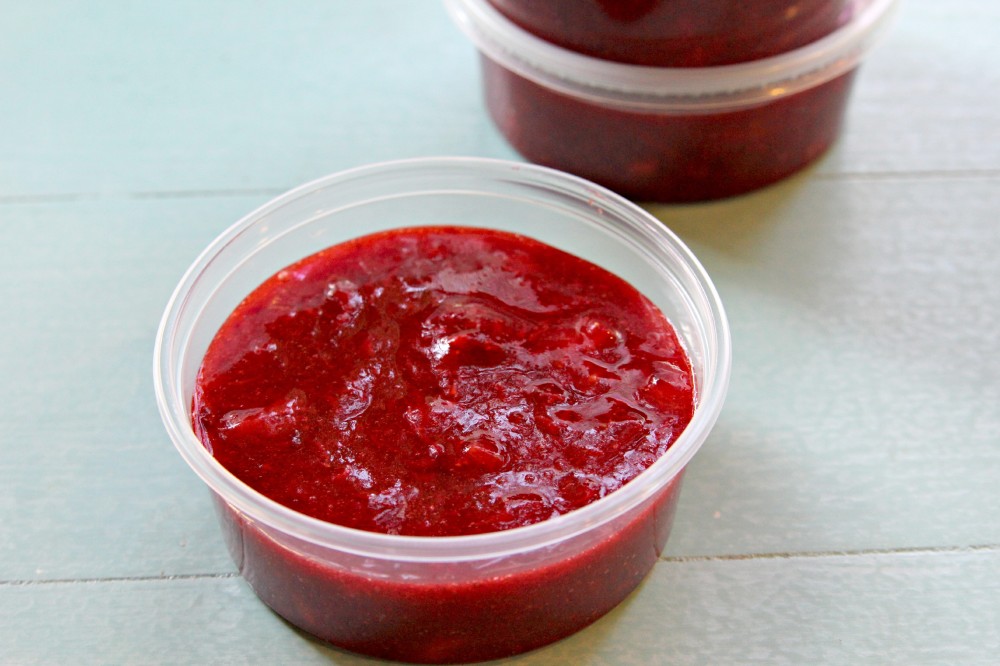
This recipe makes about 6 small deli containers. Your yield will depend on the containers you use. I recommend the small plastic deli containers (see the photo below) or freezer-safe glass canning jars.

Enjoy!

xo Julie

Julie’s Easy Peasy Freezer Jam
2015-07-12 00:34:57
This is such an easy way to make freezer jam! You will find yourself reaching for this recipe over and over again.
Write a review
Save Recipe
Print
Ingredients
  1. 5 cups smashed or tightly packed berries, nectarines or peaches (if desired, substitute 1/4 to 1/3 cup red wine with the smashed fruit)
  2. 2 cups granulated sugar*
  3. 5 tablespoons plus 1 teaspoon Instant Clearjel
Instructions
  1. Place the fruit in a large bowl and mash or crush it. You can also coarsely chop the fruit in a food processor or blender.
  2. In a smaller bowl, mix together sugar and Instant Clearjel, whisking until well mixed. Slowly add the sugar mixture to the fruit, whisking until very well mixed and sugar looks dissolved. If you don’t stir it well, the starch will thicken in clumps. This should only take a minute or so.
  3. Let the jam sit for 10 minutes to completely firm up, before scooping into freezer-safe containers with lids. Freeze the jam for up to 1 year.
  4. If using apricots or plums, make the jam mixture above, making sure to whiz the fruit in a blender or food processor. Simmer the mixture in a large pot for 5 to 10 minutes to really bring out the flavor. If you decide that you want your jam a little thicker at this point, whisk 1 or 2 tablespoons of Instant Clearjel with 1/4 to 1/2 cup sugar until mixed and then whisk into your jam mixture. If your jam is too thick, you can whisk in a little bit of liquid (wine or water).
  5. Let your jam cool before spooning it into a container and freezing it.
Notes
  1. *If using organic sugar, whiz it up in a blender or food processor to make super-fine
  2. Variation: I love adding the grated zest of 1 lemon to raspberry or blackberry jam
  3. Copyright © 2015 Julie Hasson
  4. www.juliehasson.com
By Julie Hasson
Julie's Kitchenette https://www.juliehasson.com/


Share and Enjoy:
  • Twitter
  • Facebook
  • Digg
  • StumbleUpon
  • del.icio.us
  • Yahoo! Buzz
  • Google Bookmarks
  • FriendFeed
  • Tumblr
  • Identi.ca
  • Print
  • email
  • Add to favorites


More from Julie

  • Easy Peasy Freezer Jam, Round TwoEasy Peasy Freezer Jam, Round Two
  • My New Gluten-Free Bread Book is Here!My New Gluten-Free Bread Book is Here!
  • DIY Hot Cocoa MixDIY Hot Cocoa Mix
  • DIY Cranberry VodkaDIY Cranberry Vodka

Filed Under: Jam, Recipes Tagged With: apricot freezer jam, boysenberry freezer jam, easy freezer jam, julie hasson, no cook freezer jam, plum freezer jam, raspberry freezer jam, strawberry freezer jam

Previous Post: « We Have A Winner!
Next Post: Pineapple Spring Rolls + Dole Get Up And Grow Tour! »

Reader Interactions

Comments

  1. Janet

    July 16, 2015 at 2:14 am

    Is it five cups of berries before or after you smash them?

    • Julie Hasson

      July 31, 2015 at 8:11 pm

      Hi Janet! Sorry for the late delay.Smash them before measuring.

      Hope you like it!

      xo Julie

  2. Delaram

    September 3, 2015 at 5:30 pm

    Yummmmmm! 🙂 I love creating joy in the kitchen! Love, Delaram

  3. Pam

    August 19, 2016 at 11:09 am

    if I am understanding this correctly, I only have to cook the jam if I am using apricots or plums.

  4. Kris Wood

    June 28, 2017 at 1:56 pm

    I’m using your recipe today! We just purchased a flat of strawberries from a nearby Amish farm. The berries are fragrant and my hands smell like they’re heaven kissed after washing all those little treasures. 😉 Thanks for the recipe!

Trackbacks

  1. Boozy Cherries and Apricot Liqueur! | Julie's Kitchenette says:
    July 29, 2015 at 11:33 am

    […] up” as much summer fruit as I can. And by “put up” I mean lots of freezer or regular jam, a bunch of fruit in the freezer, and boozy fruit and liqueur. It’s a great way to enjoy […]

  2. Saturday Shares 7.19.2015 - Vegan Gretchen says:
    December 31, 2015 at 12:11 pm

    […] Julie Hasson Freezer Jam – I have not gotten into canning and have never made jam since I am concerned I would poison my whole family. Julie’s freezer jam made with Instant Clear Jel looks like the perfect homemade jam – no cooking required. My Clear Jel arrived yesterday so I’ll be making it this weekend. […]

  3. Vegan Smoked Gouda Cheese Sauce - Julie's Kitchenette says:
    January 22, 2018 at 12:42 pm

    […] a tablespoon in with your dry ingredients. You can also make amazing freezer jams (like I posted here). But these are just a few of the fun things it does, which is nothing compared to how you can […]

  4. Vegan Smoked Gouda Sauce | Everyday Dish TV says:
    January 24, 2018 at 2:26 pm

    […] a tablespoon in with your dry ingredients. You can also make amazing freezer jams (like I posted here). But these are just a few of the fun things it does, which is nothing compared to how you can […]

Primary Sidebar

Let’s Connect!

  • Bloglovin
  • Facebook
  • Instagram
  • Pinterest
  • Twitter
  • YouTube

My New GF Farmhouse Bread Ebook!

GF + Vegan Farmhouse Bread | Julie's Kitchenette

Click here to watch our cooking videos!

Vegan Chocolate Pudding | Julie's Kitchenette

Our Natural Skincare Line

Our Natural Skincare Line

Hi I’m Julie!

Hi I’m Julie!

My Instagram

Keep up with Julie!

Never miss a recipe, announcement or Baking Mix sale!
Which emails would you like to receive?
Check out my privacy policy to learn how your email address will be used.

Our YouTube Channel

Our YouTube Channel

Vegan Casseroles!

Vegan Casseroles!

Vegan Pizza!

Vegan Pizza!

Vegan Diner!

Vegan Diner!

©Julie Hasson and Julie’s Kitchenette, 2020. Unauthorized use and/or duplication of this material without express and written permission from this blog’s author and/or owner is strictly prohibited. Excerpts and links may be used, provided that full and clear credit is given to Julie Hasson and Julie’s Kitchenette with appropriate and specific direction to the original content.

Copyright © 2021 Julie Hasson • Privacy Policy • Site Design by Bauer Studios

We are using cookies to give you the best experience on our website.

You can find out more about which cookies we are using or switch them off in settings.

Julie's Kitchenette
Powered by  GDPR Cookie Compliance
Privacy Overview

This website uses cookies so that we can provide you with the best user experience possible. Cookie information is stored in your browser and performs functions such as recognising you when you return to our website and helping our team to understand which sections of the website you find most interesting and useful.

Strictly Necessary Cookies

Strictly Necessary Cookie should be enabled at all times so that we can save your preferences for cookie settings.

If you disable this cookie, we will not be able to save your preferences. This means that every time you visit this website you will need to enable or disable cookies again.